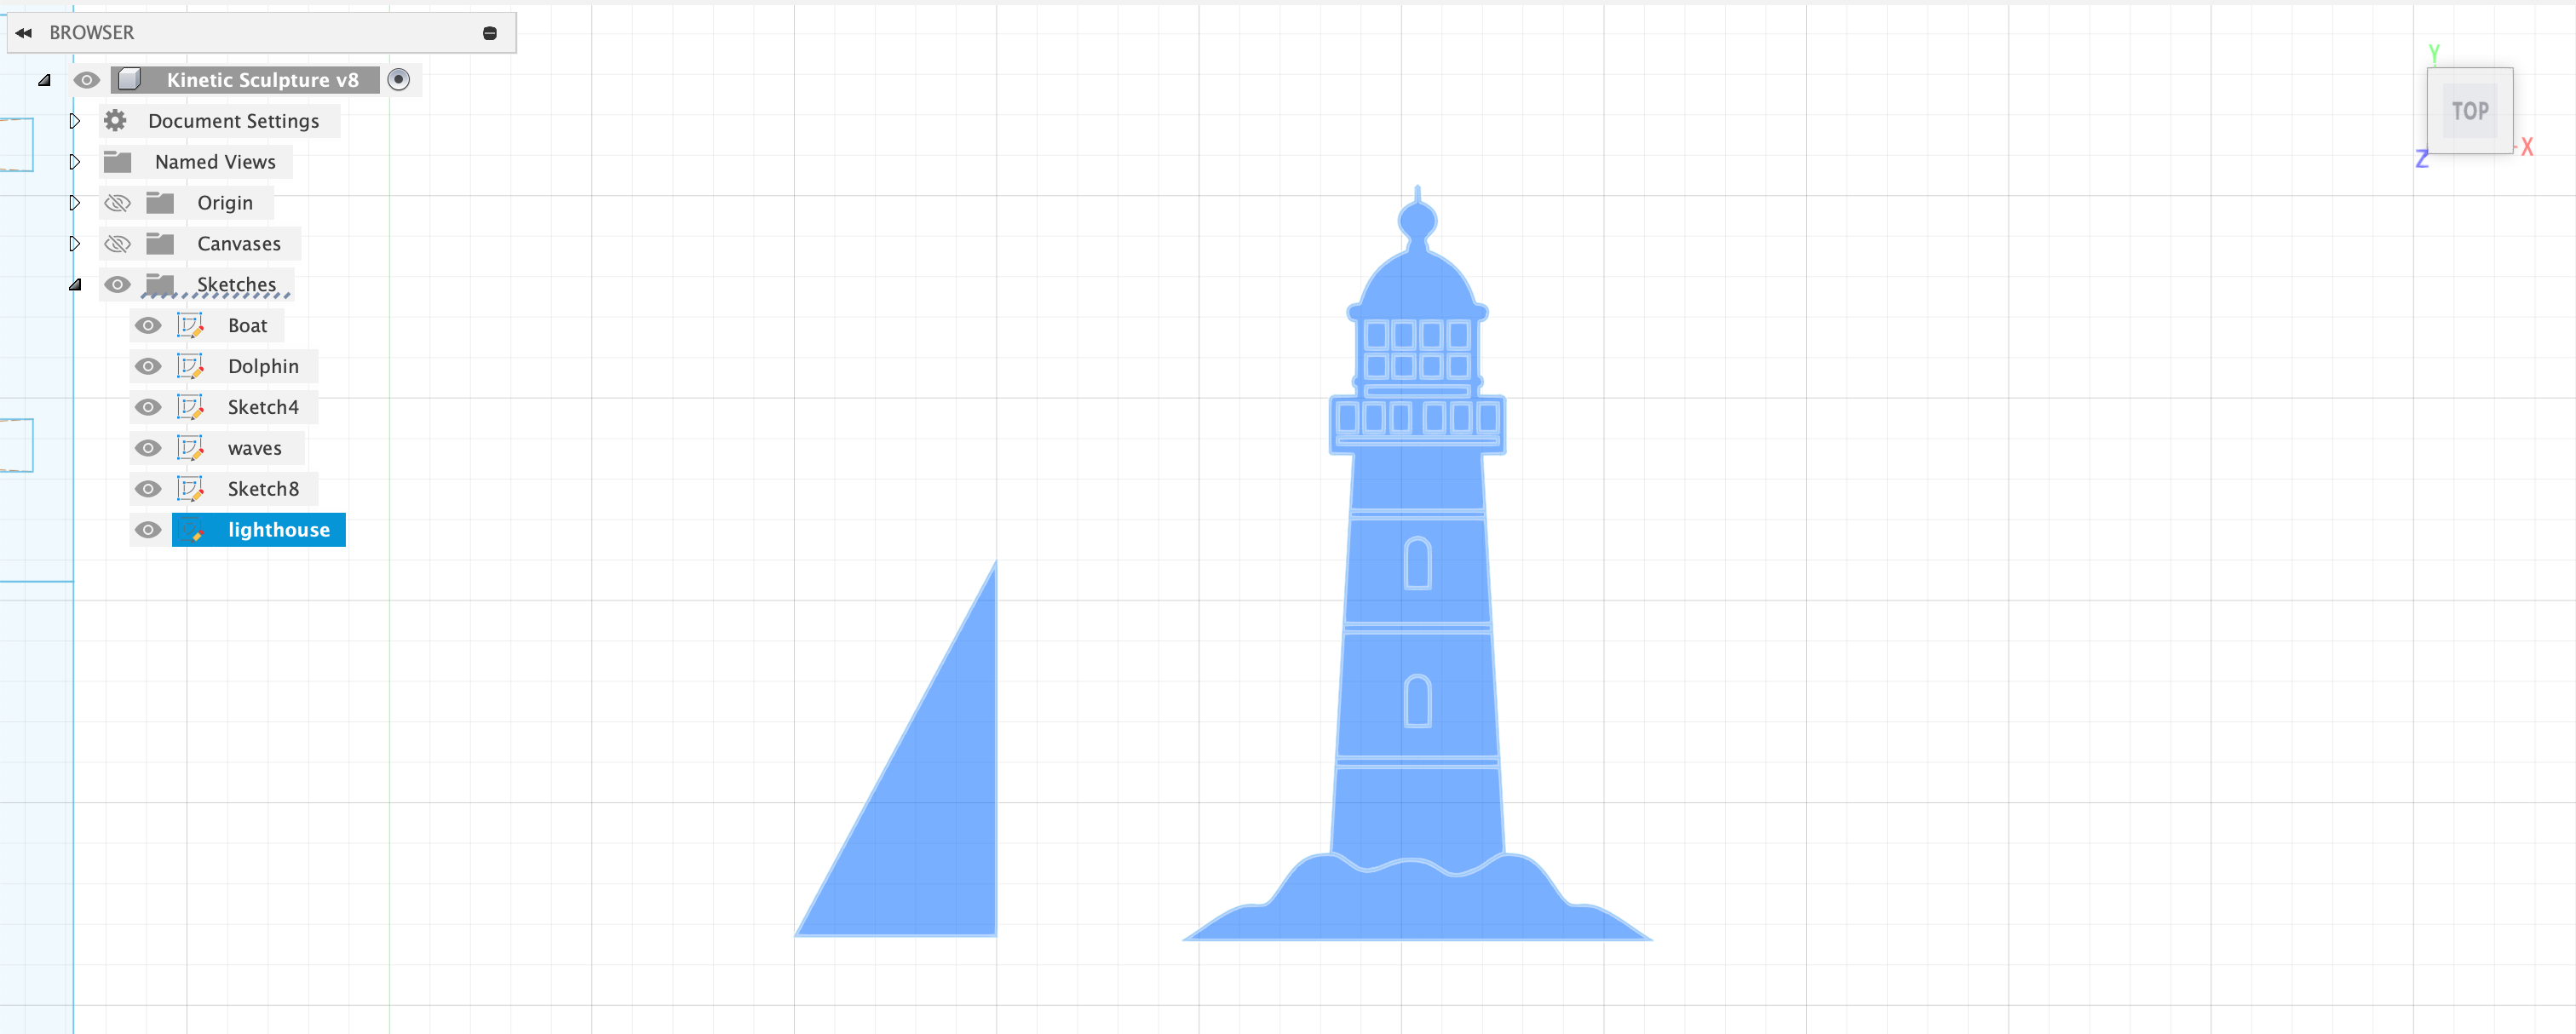
This week, our assignment was the extremely specific and helpful instruction of "make an Ardiuno do something." Armed with this wise guidance, I set out to figure out what I should make an arduino do. I thought that the most fun way to integrate this project into my greater PS70 portfolio would be to figure out how I could get this arduino project to interact with my kinetic sculpture. My initial thoughts were obviously, what would be an interesting way to control the motor? But as I thought about my specific project, I realized that the natural, continuous motion induced by the motor is what I was looking for as it mimicked the rocking of the ocean. I then began thinking about what other interesting things I've seen around beaches and that is vaguely ocean-related, and I thought about how 95% of beaches that I've been to in New England have a lighthouse in some form of disarray just near enough to taunt you that you could get up there but just far away enough that it would be too difficult to reach. They really seem to devise those things to deter the average impulsive college student. Anyways, I love lighthouses and one day want to climb one since it has been so cruelly held out before me like cheese in front of a mouse on a treadmill. Because of this, I realized that I could make my own lighthouse! This would also give the arduino something to do as I know that I could make an LED blink to simulate the spinning of the mirror in the lighthouse. With this in mind, I went about designing a lighthouse that I could laser cut out of cardboard. I also knew that this would be two dimensional and would need to stand up, so I designed a rudimentary stand to go with it.
I also ended up printing this at like 175% scale using Rhino, so take these dimensions with a grain of salt. I drew this with the help of a beautiful reference image, as I am not artistically inclined. With this designed and eventually cut out, I now had, unfortunately, completed all of the (in my opinion) best parts of the project and had to switch from designing, building, and machining to coding (booo, hiss, gross). Luckily, I quickly got the LED to blink using the millis() command, and it looked something like this:
void loop() {
	// LED blinking (non-lobotomizing)
	unsigned long currentMillis = millis();
	if (currentMillis - previousLEDMillis >= ledInterval) {
	  previousLEDMillis = currentMillis;
	  ledState = !ledState;
	  digitalWrite(LED_PIN, ledState);
	}
}
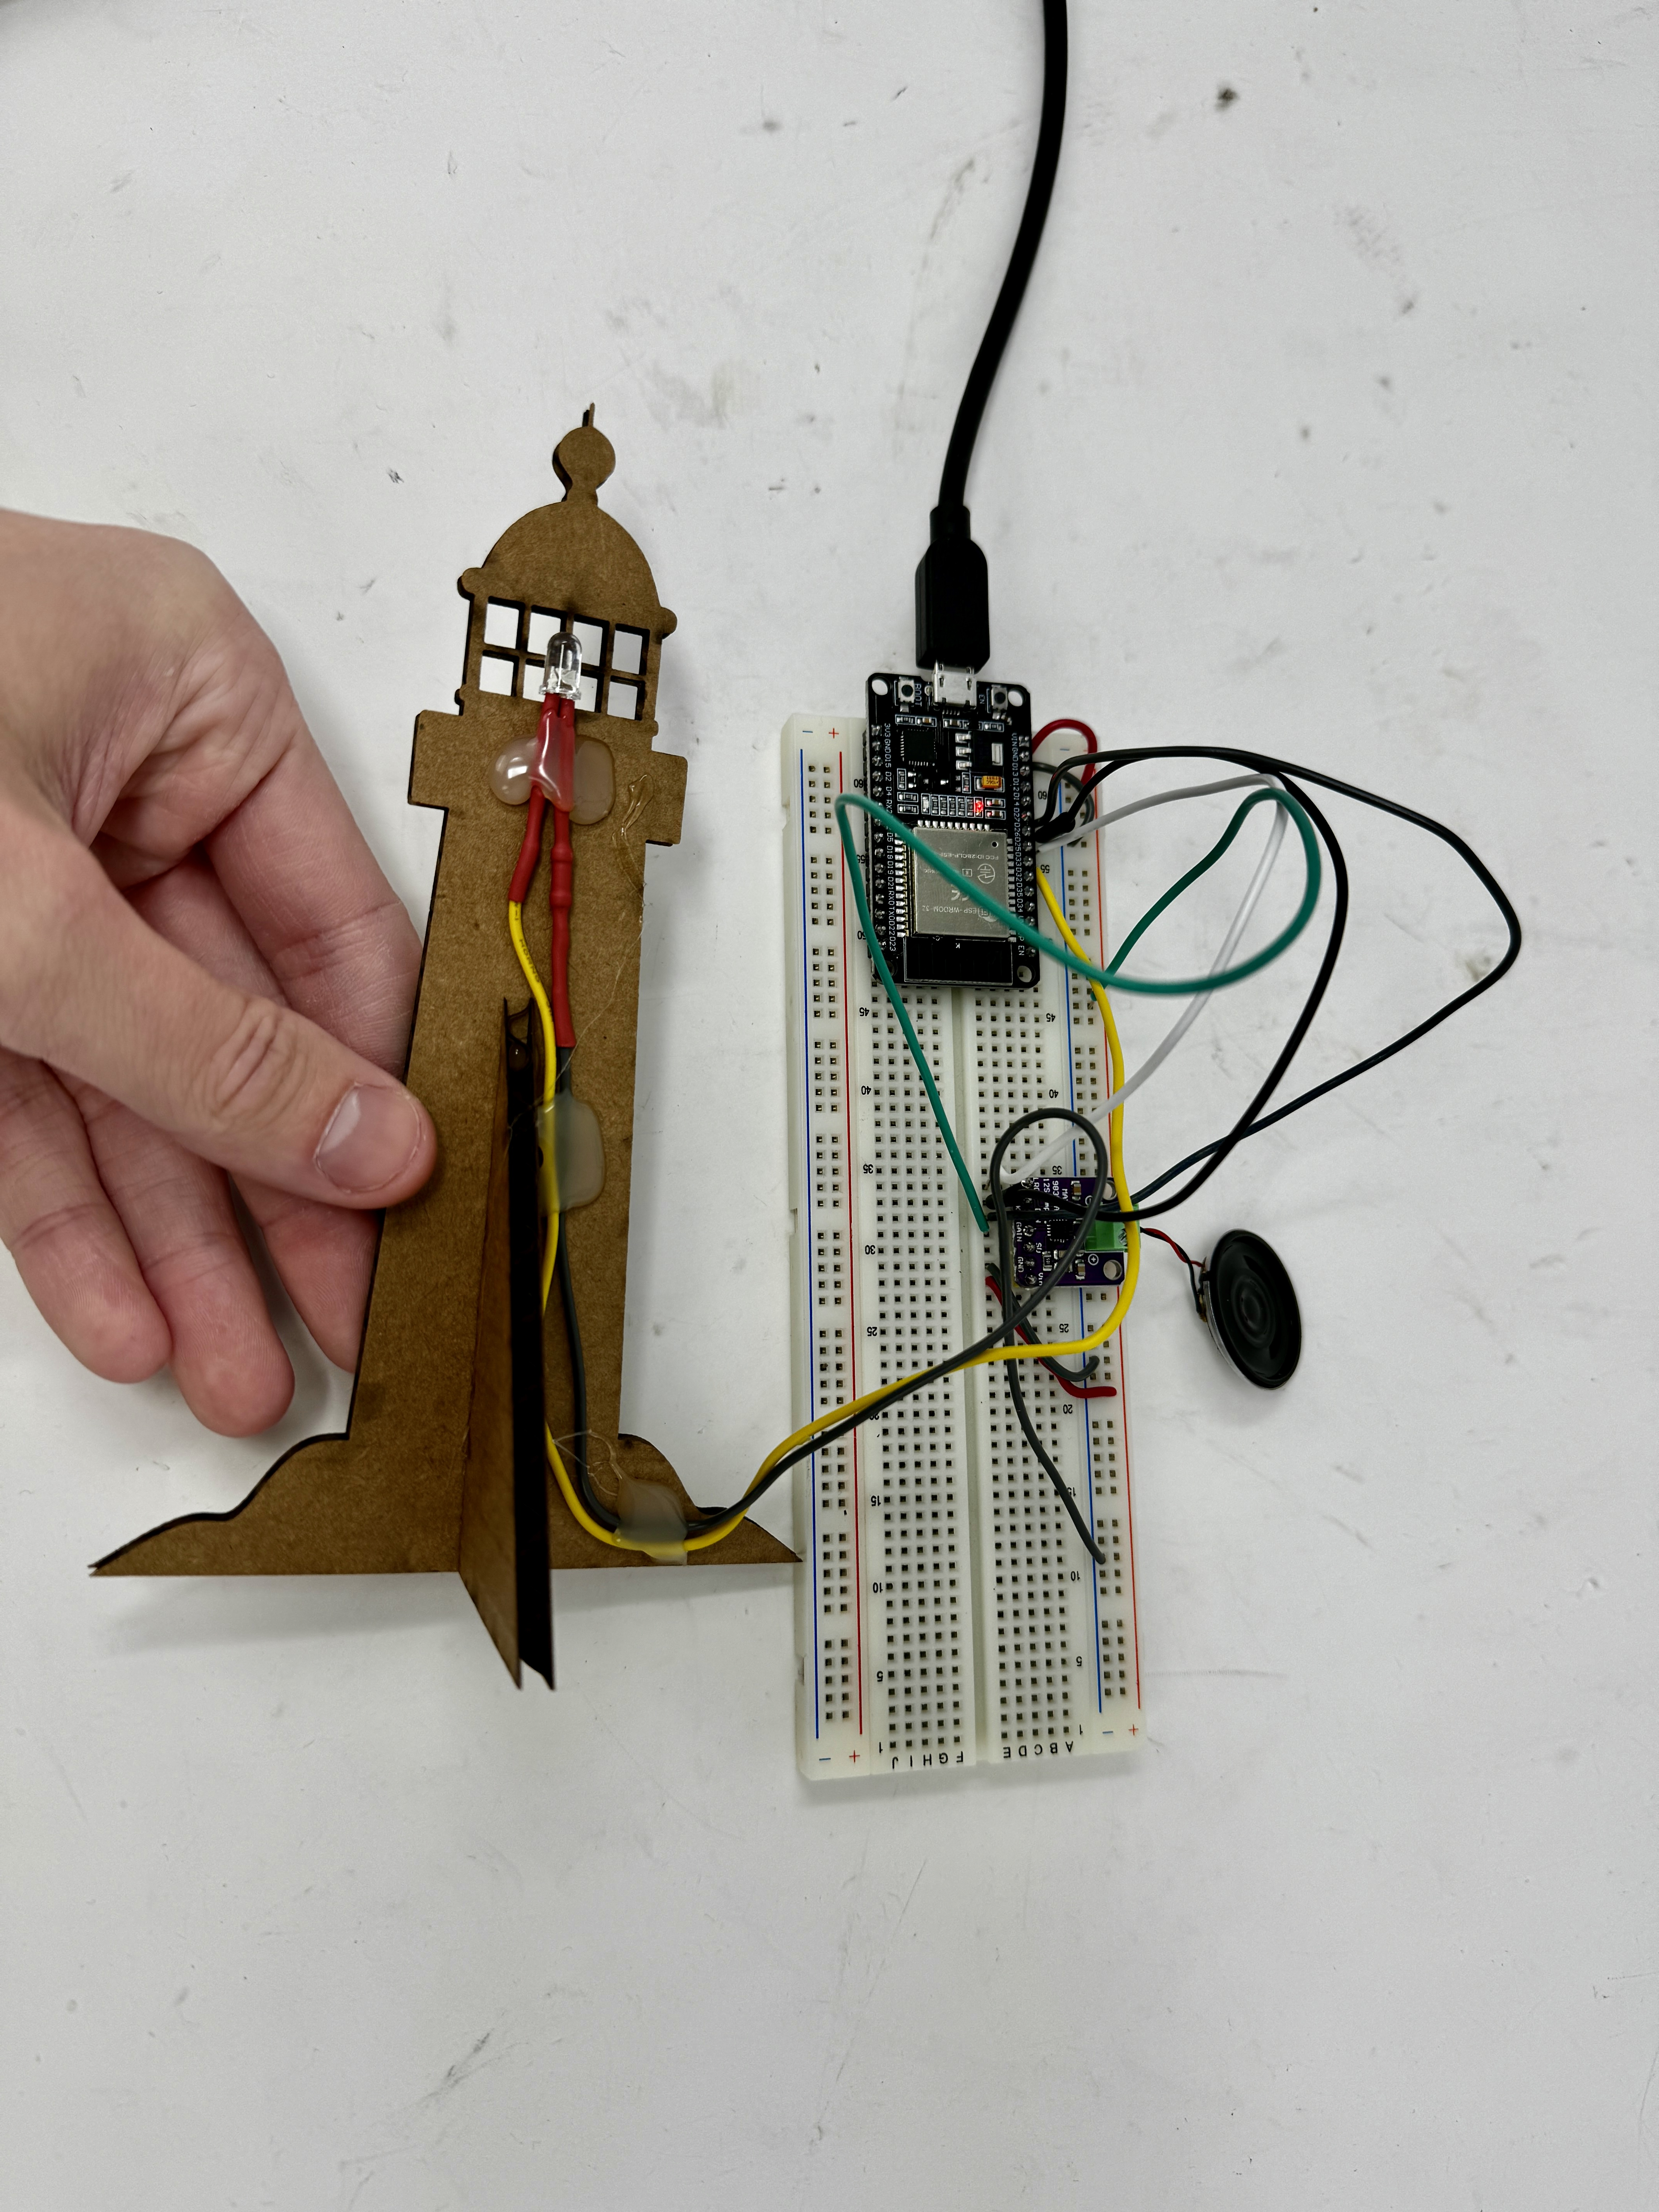
The main problem that I was facing here, the problem that I just couldn't shake and that was constantly nagging me was that this was almost too quick. I felt like I hadn't been masochistic enough yet as I had only been in the shop for a few hours, and not the 300 hours or whatever I spent last week. Because of that, I wanted to add something more. Somewhat stumped, I was thinking about what else reminds me of the ocean. I closed my eyes and began to picture myself on the beach to see what I could come up with. This is when I realized that it wasn't about what I could see, but rather what I could hear. A crucial part of the ocean is the sound of the ocean, so what better addition to my project than to give it some ambient ocean noises. I was initially inspired by this Instructables project, but I quickly realized that I shouldn't have been. My initial attempts were powered by googling "ambient ocean noises," which resulted in many generic ten-hour ocean noise compilations. I found some shorter clips and was able to follow most of the steps outlined in the project above to sample everything correctly and clicked upload, and it sounded like a blender blending static noise. It was awful. A quick google search revealed that the audio amp I was using, the LM386, kinda sucked, and the MAX98357a was far superior. After hooking everything up properly with this new amp, I clicked upload, and it still sounded as close to a dying seagull on a Harley that I think a speaker can get. Bobby and Kassia can attest to how awful it sounded. In a desperate attempt to get me to stop assaulting his eardrums, Bobby very kindly offered to look at my code. He was promptly horrified by pretty much every step that I had taken - my hex code conversion was wrong and the code itself was pretty heinous and convoluted. Luckily for me, Bobby had already written code that played music in pretty much the exact same way that I was looking for, so he offered to test his code on my circuit to see if it sounded less like a nightmare incarnated. After tweaking the pin assignments in the code and ensuring continuity with a multimeter, we ran the code that we were confident worked, and you guessed it, nothing happened. 30 minutes later, and we could not for the life of us figure out what was going wrong. However, Bobby needed to work on something else, so he sent me his code to tinker with. I plugged the circuit into my computer and was promptly greeted with a looping "hello!" Bobby's computer was at ~2% and didn't have the juice to power the circuit. You know, a more stressed version of me would say 30 minutes wasted, but I learned something new so it's all ok (haha...). After that, Bobby's code was able to convert my wav file into hex code and play it with the new audio amp, and it actually sounded halfway decent! I was content at this point and brought my own blinking LED code into his code to form a glorious complete program. The fun part looked like this:
void loop() {
	Serial.println("playing the sound");
	for (float i = 0; i < 572326; i++) {
	  // Handle LED blinking (non-lobotomizing)
	  unsigned long currentMillis = millis();
	  if (currentMillis - previousLEDMillis >= ledInterval) {
		previousLEDMillis = currentMillis;
		ledState = !ledState;
		digitalWrite(LED_PIN, ledState);
	  }
	  //convert 8 bit to 16 bit
	  uint16_t sample = map(Test[(int)(i)], 0, 255, 0, 32767);

	  //you can only write an 8bit integer at a time so we read the 16 bit integer, 8 bits at a time
	  I2S.write((uint8_t *)&sample, 2);
	  // I2S.write((uint8_t *)&sample, 2);
	}
}
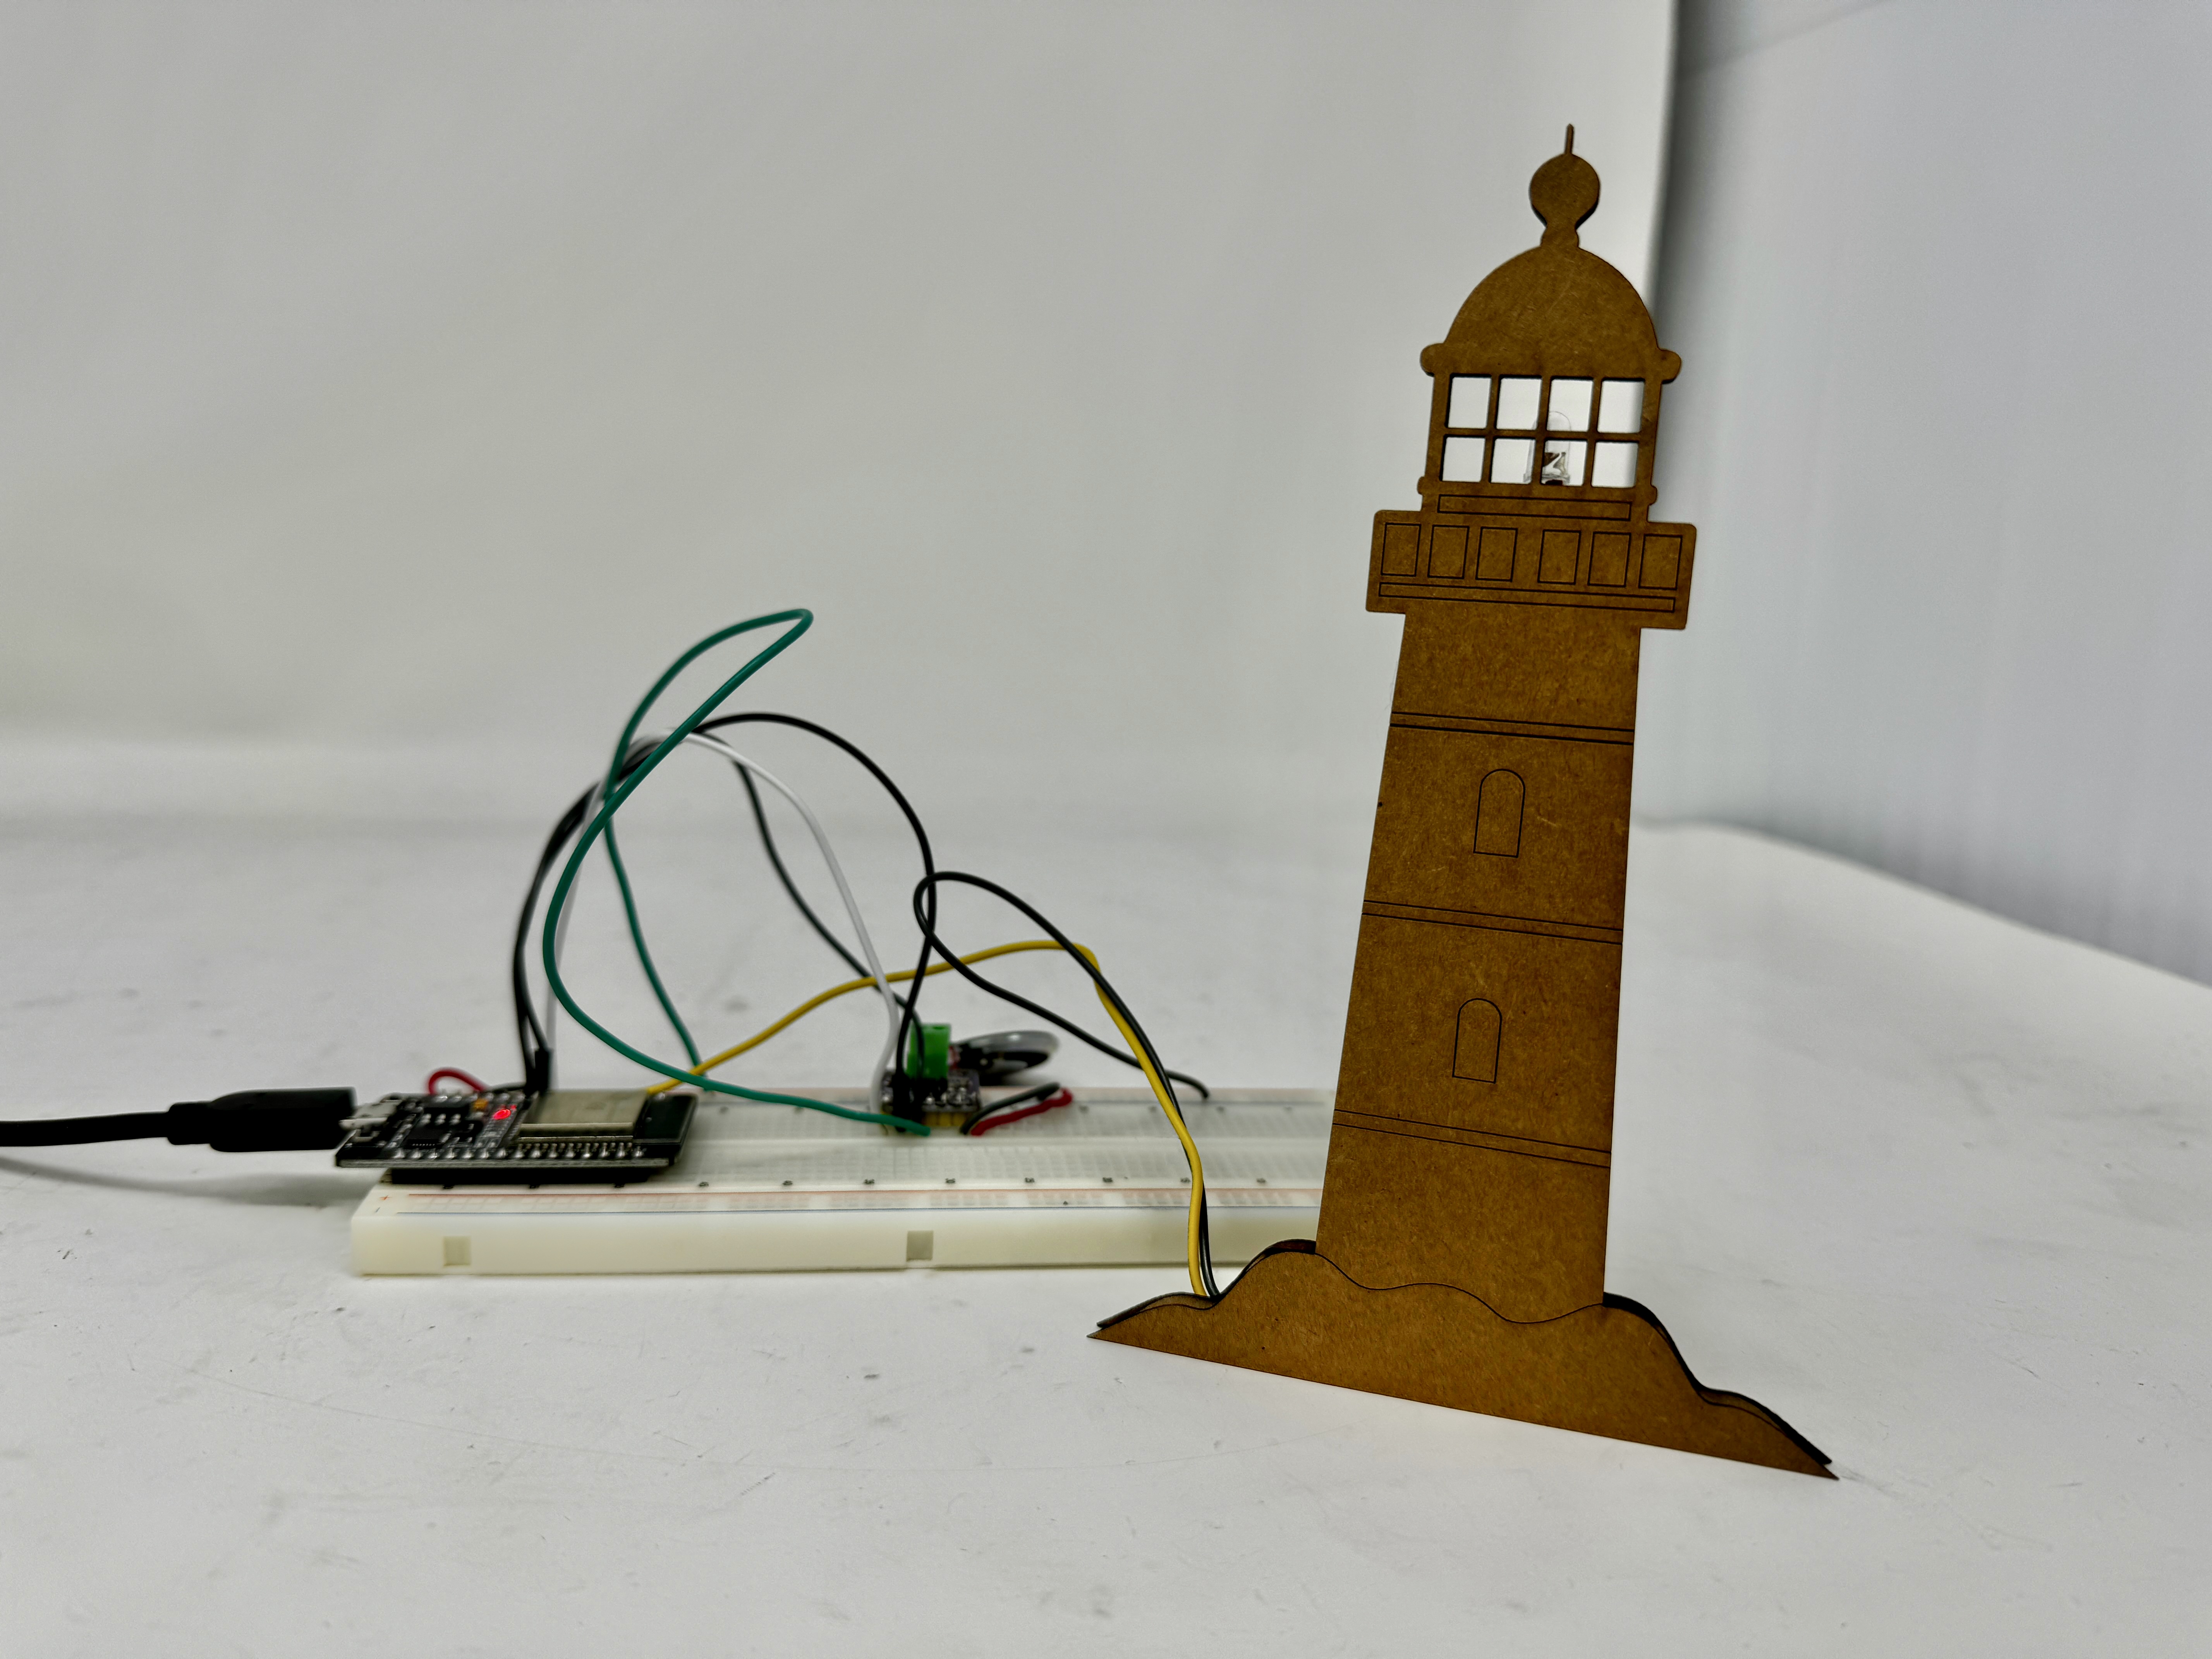
The way arduino runs code is kinda weird to me, but I guess it makes sense. I had to put the blinking light inside of the for loop because otherwise the LED would only blink when the sound did a full cycle, which was much longer than I wanted to wait. After I got the proof of concept done, I soldered the LED and a resistor onto some wire to have it be able to reach the top of the lighthouse and got to assembling everything! Lots of hot glue later, and I had a nice final product! I had some bumps along the road, like trying to see if I could get the arduino to also control the motor at a slow speed and accidentally accelerating it so fast with no blocking mechanisms that all of my dolphins snapped off of their hub and the motor mount got completely stripped. This was nothing that a little (read a lot) hot glue couldn't fix though, and with that dream promptly squashed, I went to the photobooth to give my final product a photoshoot. I did my best to capture all of the light, sound, and aesthetics, but I did struggle a bit with that, so here is my best attempt. I promise that all of the features are functioning the whole time in these videos. I have also attached my best attempt at a final schematic of my circuit.